Tutorial: Using Graphics
Step 1 - Starting
Start Meg and Create an New Project. Make sure you give it a Title.
Step 2 - Import Graphics

Switch to the Spritesheet Editor component, and click on the add button, as see in image to the right.
Now you can select a image file you wish to import, for this tutorial we offer a very basic image for that. Just save the following image to your computer. Following sheet selection, the Quick Create Dialog pops up. If the sheet you importing isn't made of uniformed tiles you can just skip this, but in this case we are, so you can set Tile Dimensions to 32x32.
Step 3 - Opening 'empty' map
Switch over to Map Editor and open the 'empty' map
Step 4 - Editing a map
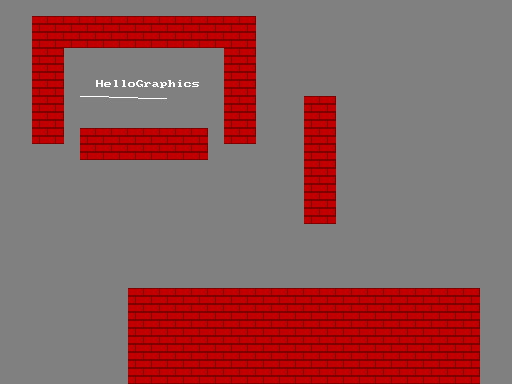
Now you can add content to the map. Select Map Object combo box and tutorial-sheet1.png. You should have  sprite list here, so double click on the red bricks then click and drag on the map to place on the map. You can toggle 'align to grid' to place sprite evenly. You can also add Text, Rectangles, lines and circle by selecting Shapes on the Map Object combo box.
Step 5 - The Result

Comming Soon